Design the perfect professional email signature in 6 steps
This week I attended the 50-minute-long American Institute of Graphic Arts (AIGA) Workshop, Pins & Signatures, by the student chapter at Elon University. I was excited to participate because my email signature needed a refresh and I wanted to see what I would learn.
The event began with a PowerPoint presentation showcasing some general rules for designing an email signature. To list a few, your name should have the most emphasis, keep the size of the text around 11-14 px, limit it to around 3-5 lines and 1-2 font families and don't make the design too overwhelming or busy.
We were then taught the technical process of actually creating an email signature. The facilitator used Outlook for the demonstration. She started by telling us to open up Google Docs or Microsoft Word. I used Google Docs. We designed our signature in our own document to keep the text editable and highlightable and because Outlook does not have much customization ability in its signature creator tab. For my signature design, I used typographic contrast to make my name the most prominent element by increasing its scale, changing its color and typeface, and making it bold. Below my name, I listed some key information: my preferred pronouns, job title, major name, university name and class year.
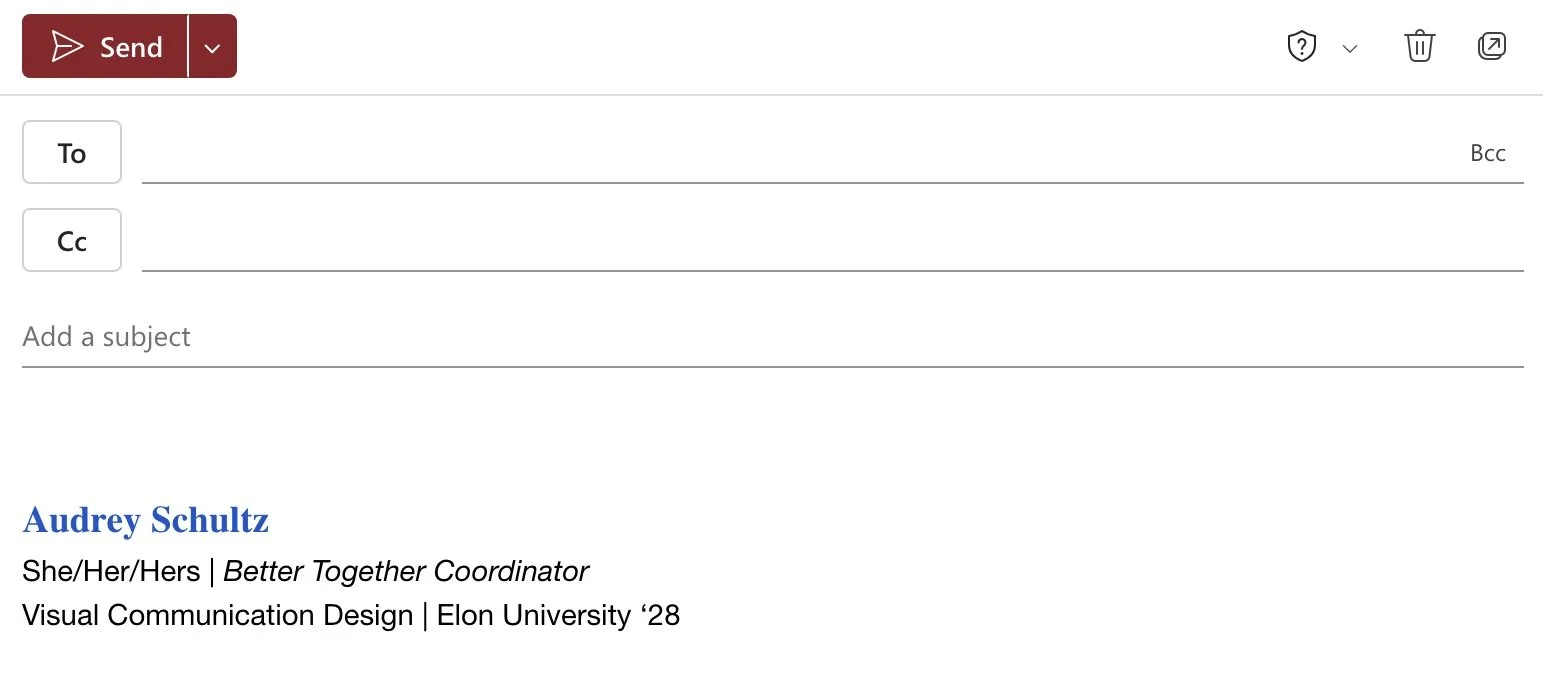
After our designs were complete, we opened Outlook and clicked the following tabs: 1) File, 2) Account Info, 3) Account, 4) Signatures, 5) Add Signature. At step #6, I copied and pasted my design from the Google Doc into the Outlook text box. I learned that I can set this new signature as a default for all of my emails so that I don't have to insert it every time.
Toward the end of the event, we took design elements from our signatures into Canva and quickly designed circles, which we made into pins. Overall, I learned a lot about professional signature design and it was very fun to create pins from those designs.
